Magnetism, Band Structure and pDOS
This tutorial will teach you how to:
- set up unrestricted calculations (Magnetism) with the Quantum ESPRESSO GUI
- assign different initial spins
- calculate the band structure and dos in the same job
- observe spin results using View, the KFBrowser and Output
- view band structure and pDOS using BANDstructure
Step 1: Start ADFinput
- Start ADFinputSwitch to Quantum ESPRESSO mode (panel bar ADF → Quantum ESPRESSO)
If you have not yet installed Quantum ESPRESSO a dialog will pop up suggesting to install Quantum ESPRESSO by downloading it from the SCM web site. This is required for this tutorial to work. Downloading may take a while as it is a big package.

Step 2: Set up the system - Iron supercell
First make an Iron crystal:
- Press cmd-F or ctrl-F to activate the search boxType ‘iron’ in the search boxClick on ‘Fe’ in the list of found Crystals
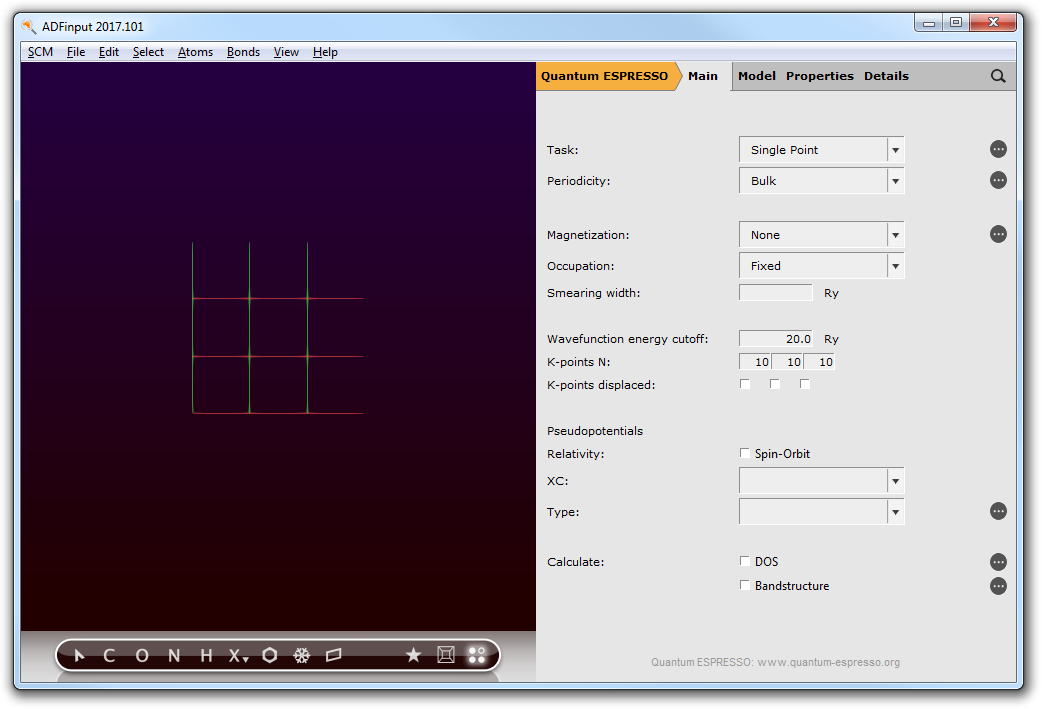
The unit cell has 1 atom. Rotate the system to get a good view. As we want to assign different spins in this tutorial we need a super cell:
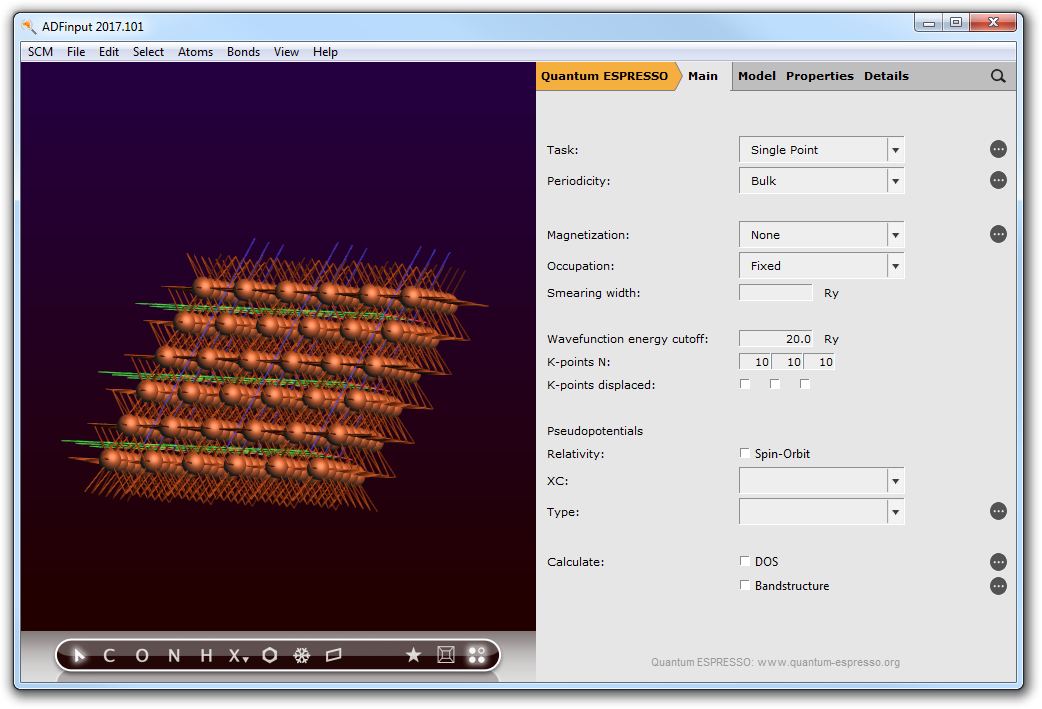
- Start the supercell tool Edit → Crystal → Generate Super CellClick OK (the default 2x2x2 is fine in this case)Move / rotate / zoom to get a good view

Step 3: Set up the anti-ferromagnetic iron calculation
Let’s first set up the slightly more complex anti-ferromagnetic system calculation.
We need to assign initial spins up to some atoms, and initial spin down to other atoms. For that reason we need different types of iron atoms. This can be done using Regions.
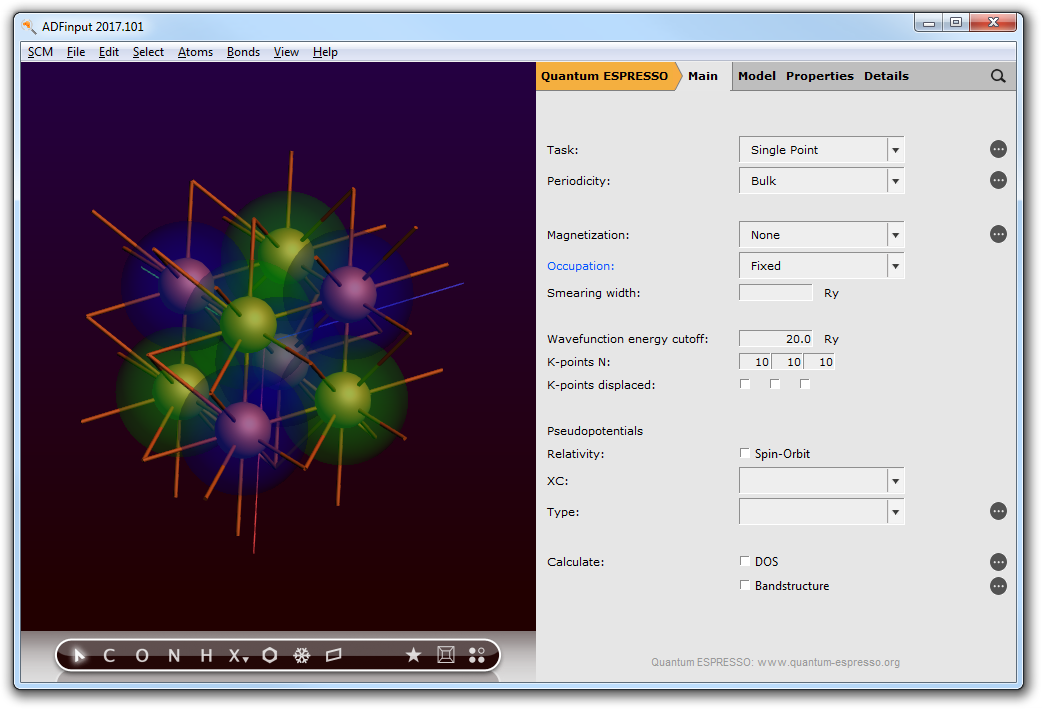
- Turn off the repeated view of the unit cell (click the button with four dots on the right of the bottom button bar)Select four iron atoms by shift clicking, two per side (never the ones closes to each other)Make a new region from these atoms Atoms → New Region From Selected AtomsRepeat this to make a region from the four other atoms

Next set up the magnetism details:
- Go to the Main panelSelect ‘Collinear’ from the Magnetization option in the panelClick the
 button next to Collinear to go to the Magnetization panel
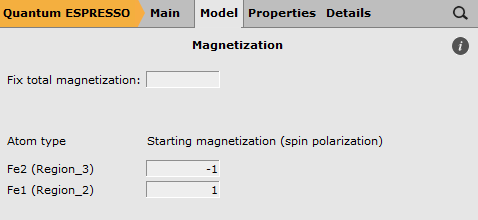
In this panel you set the starting magnetization for the different atoms. As you can see there are two iron atom types, let’s assign them a starting magnetization of -1 and 1 so we get an anti-ferromagnetic state:
- Enter -1 and 1 as starting magnetization for the different iron atoms.

Note that this is a starting magnetization, it is possible that the final SCF calculation ends up in a different state!
The magnetism options have now been taken care of, next the other calculation options need to be set. As iron is a metal we will have to use the smearing option. To speed up the calculation, lets reduce the K grid to 5x5x5 (for real application you need to test convergence with the K grid). In this tutorial we will also calculate the pDOS and band structure of the system.
- Go to the Main panelSelect ‘Gaussian’ from the Occupation menuEnter ‘0.01’ as smearing widthEnter 5 5 5 as the number of K points to be usedSelect ‘PBE’ from the pseudopotential XC menuSelect ‘van’ from the pseudopotential type menuClick the ‘DOS’ check boxClick the ‘Bandstructure’ check box

Again, the choice of pseudopotential in this example is just an example and not an advise!
Save your set up as ‘iron-antiferromagnetic’
- Save: File → SaveEnter ‘iron-antiferromagnetic’ as name and click the Save button
Step 4: Set up the ferromagnetic iron calculation
Before running, lets also setup the ferromagnetic version as we already have ADFinput open. The changes are minimal, only the starting magnetization needs to be set differently.
- Click the
 button next to Collinear to go to the Magnetization panelSpecify 1 as starting magnetization for both iron typesSave with a different name: Save: File → Save AsEnter ‘iron-ferromagnetic’ as name and click the Save button

Again, note that this is a starting magnetization, it is possible that the final SCF calculation ends up in a different state!
Step 5: Run the calculations
The easy step: use ADFjobs to run your jobs:
- In ADFjobs select your two jobs (via shift-click or control-click)Run them: Job → Run
You should see the two jobs running, one after the other, and you can follow their progress.
Step 6: Examine the results
KFBrowser
When the calculations are ready (as is visible in ADFjobs) the first thing is to make sure that the spin is as expected. One way to see that is via the KFBrowser:
- In ADFjobs select the ferromagnetic jobStart the KFBrowser SCM → KF Browseropen the ‘Charges and Spins’ section (click on the triangle in front of it) in the KFBrowseropen the ‘Atomic Spin’ variableRepeat this for the antiferromagnetic job (without closing the first KFBrowser window)
Now you can compare the spin results:

As you can see the ferromagnetic calculation resulted in all iron atoms having the same spin, and thus a total spin. For the anti-ferromagnetic calculations the iron atoms have alternating spins, and an almost zero total spin.
The KFBrowser gives access to many other properties, in particular you can have a look at the energies if you wish . Output —— In the output file you can also find Lowdin Charges, breaking up the spin in different components. These results are generated by activating the pDOS calculation (which is the default when you check the DOS check button):
- Select the ferromagnetic job in ADFjobsOpen the output (SCM → Output)Search (at the bottom) for Lowdin
The text in the output window should scroll immediately to the section with Lowdin charges:

BANDstructure
With the BANDstructure module you can inspect the band structure of your system (if calculated of course), as well as the DOS or partial DOS (again if calculated). In this case all are available. So lets have a look:
- In ADFjobs select the ferromagnetic jobStart the BANDstructure module (SCM → BAND structure)

You can easily see the different structure for the alpha and beta electrons in the band structure (solid and dotted lines). The partial DOS display shows you the composition of the bands in terms of atomic shells (s, p, d) for both the alpha and beta spins. In the DOS menu you can switch what to see.
Do the same for the antiferromagnetic job:
- In ADFjobs select the antiferromagnetic jobStart the BANDstructure module (SCM → BAND structure)

In this case due to symmetry the alpha and beta curves are on top of each other.
You can also see the partial DOS for a particular atom:
- In the BANDstructure window for the antiferromagnetic job:Disable the repeated unit cell view: View → Periodic → Repeat Unit CellsView → Atom Info → Name → ShowSelect the Fe1 atomRight-click on it, and in the menu that pops-up select Partial DOS → Total-DOSIn the DOS menu select the Fe1 you just added

Do this again for a neighboring atom:
- Select the Fe5 neighboring atomRight-click on it, and in the menu that pops-up select Partial DOS → Total-DOSIn the DOS menu select the Fe5 you just added

If you look carefully you can see in the DOS section that the spin alpha and beta have been switched for atoms Fe1 and Fe5.
ADFview
With ADFview we can examine fields and atomic properties.
- In ADFjobs select the antiferromagnetic jobOpen ADFview SCM → ViewIn ADFview:Show the atomic spins: Properties → Atom Info → Atomic: Spin (quantum espresso) → Show
Now the atomic spins will be show as a label next the atoms. Even more visual is to color the atoms by the spin:
- Color the atoms by the spin: Properties → Color Atoms By → Atomic: Spin (quantum espresso)

To view the spin polarization density:
- Add a double isosurface Add → Isosurface: Double (+/-)In the control line at the bottom of the window select spin polarization: Select Field... → Density → Spin Polarization

You can compare these images to similar images for the ferromagnetic iron results.
Note that in ADFview you can also visualize other field, like the (valence) density and deformation density. Just play with it or check the Advanced ADFview tutorial.
For example, using a multi-iso surface with clip plane and transparency, atoms reduced in size, using a fine grid, you can create the following picture of the deformation density:

In this tutorial you did run the Quantum ESPRESSO calculations on your local machine. With ADFjobs you can also run jobs on remote machines. In such cases when using ADFview to visualize Quantum ESPRESSO results the calculation of fields will automatically happen on the remote machine (with ADFview running on your local machine).
You do need to transfer your files to your local machine first!